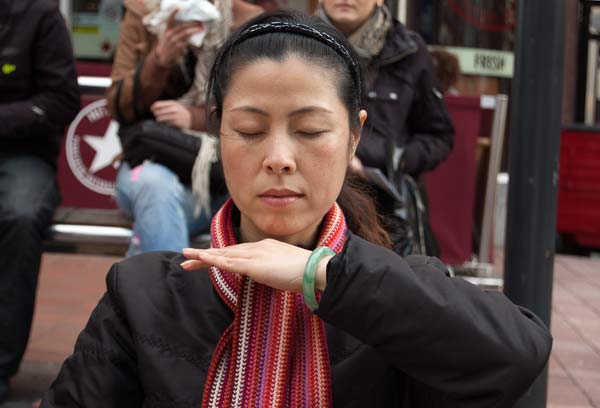
As you scroll up and down these images, notice how the woman in the foreground in the first photo (the one at the top) is less well isolated from the background.
It is as though she is fighting with the background for attention.
The reason that she is not isolated from the background is that both she and the background are in focus.
And the reason for this is that I used a fairly small aperture when I took the photo.
The smaller the aperture, the greater the front-to-back distance that will be in focus.
And because the woman and the people behind her and fairly near each other – and I was further away from both of them, they have kind of blended in to one overall camera-to-subject distance.
If the people behind the woman had been much further back I wouldn’t have had this problem.
The way to reduce the distance over which the scene is in focus is to use a wide open lens with an aperture of around f2. That ensures that the depth of focus is small.
However, I see from the EXIF data in the digital file for this photograph that I shot it with an aperture of f5.6.
The EXIF data tells me I shot it on 16 November 2007 with a Nikon D40, and that the focal length of the lens I used was 55mm.
It doesn’t tell me which lens I used but I know I had the 18-55mm zoom kit lens that came with the camera.
And I wasn’t able to take the shot with a wider aperture because at that focal length the lens had a maximum aperture of f5.6.
The kit lens has a wider aperture of f3.5 at the wide end of the zoom, but this reduces as the lens is zoomed out to its longest focal length.
That ‘feature’ is common in cheaper lenses because it takes more glass and more expensive machining to make a lens with a constant maximum aperture all the way out to the longest focal length.
Professional lenses are more expensive (and heavier) precisely because they are built with more glass so they can shoot at wide apertures even at the longest focal length.
Dealing With A Messy Background
So now how can I do something about the messy background in post-processing?
Blurring the background isn’t really an option. I have tried to do this before and usually it ends up looking fake.
But you can darken down the background and highlight the foreground in Photoshop with the dodge and burn tools.
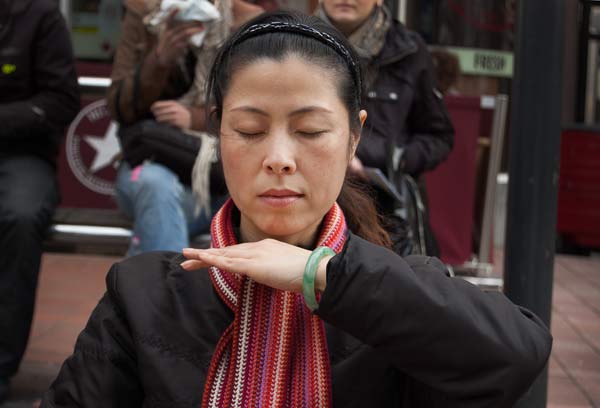
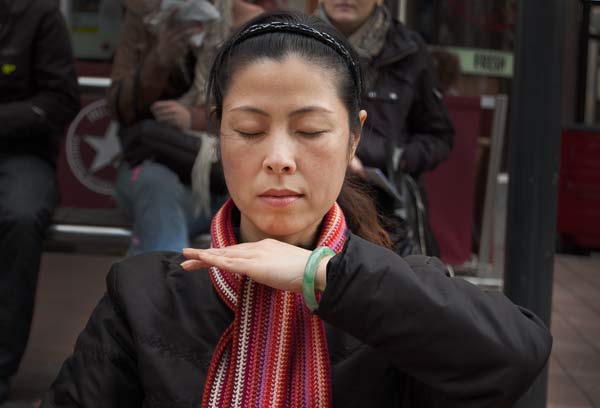
As you scroll down through the shots from the top you can see that I have darkened the background.
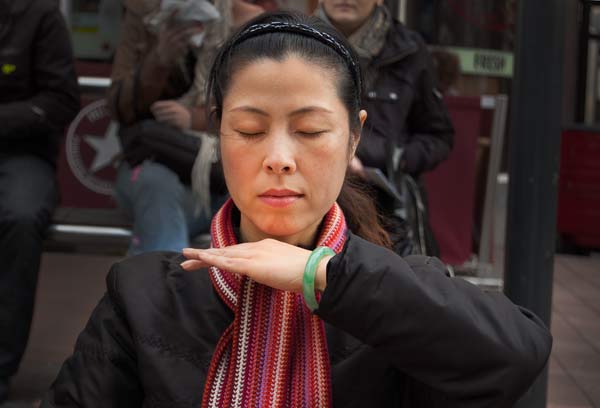
One side effect of doing that is that it has ‘robbed’ the background of some of its colour. This has affected the apparent colour of the woman in the foreground.
So in the last shot you can see that I have boosted the saturation of the woman’s face (a bit too much, maybe) by brushing over her face with the Saturation tool in Photoshop.

Leave a comment